
Donna
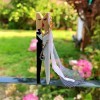
Gold Post Medal for All Time! 555 Posts 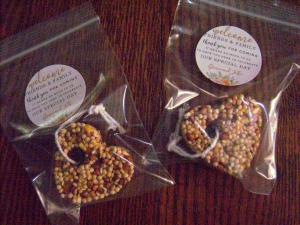 My daughter's wedding has a natural theme and so we wanted a favor that would be consistent and something anyone could enjoy once they got it home!
Many of the internet sites' recipes just didn't work so I experimented with a number of different combinations to get it just right!
I've included info on some of my hints, hits, and misses to help your project be successful.
These could also be used as gift tags!
Total Time: 1 hour plus drying time
Yield: 48- 1 1/2" hearts
Supplies:
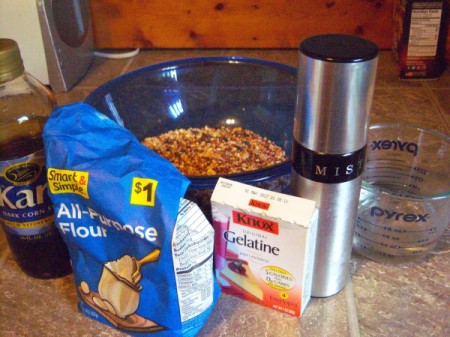
- 4 cups bird seed
- 5 Tbsp molasses or corn syrup
- 1 Tbsp unflavored gelatin
- 1/2 cup water
- 3/4 cup flour
- 3 straws
- string
- optional: little bags/tags or labels
- 1 1/2 inch silicon heart molds which I bought at Joann's
Steps:
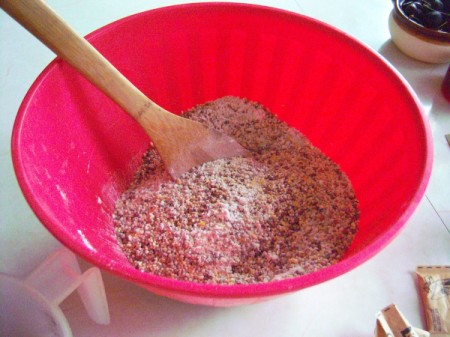
- Mix 3/4 cup of the white flour into the 4 cups of bird seed. Also cut your straws into 1" - 1 1/2" pieces and set both aside. (Straw cutting not pictured.)

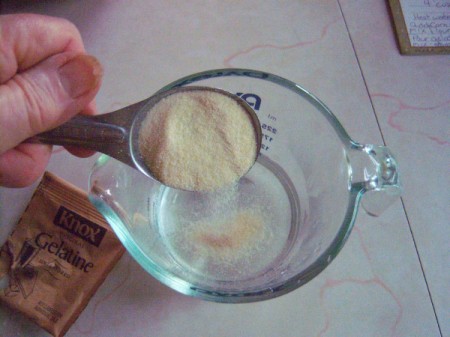
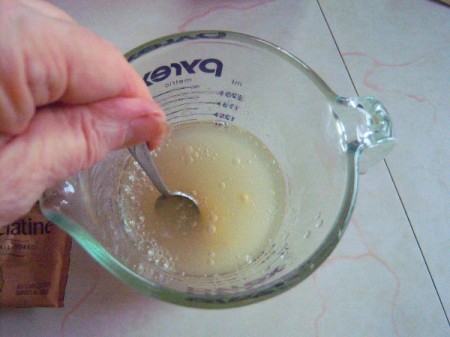
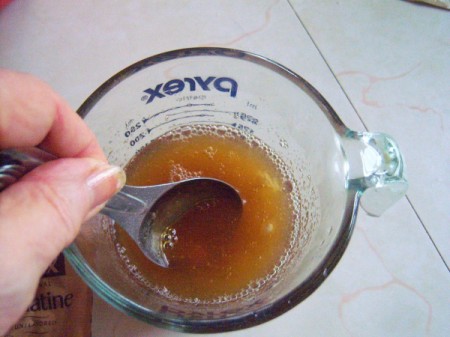
- Add one tablespoon of the powdered gelatin mix to the 1/2 cup of warm water and stir a minute to dissolve.
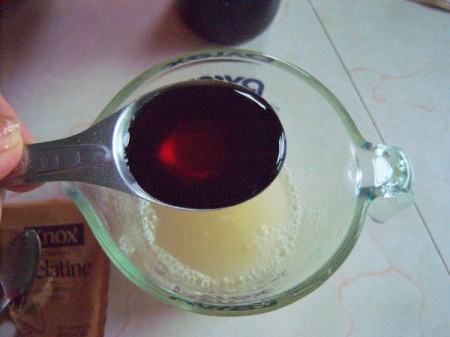
- Add 5 tablespoons of molasses to the water/gelatin mixture and stir to dissolve.
- Pour gelatin/water/molasses into seed/flour mix and stir together until all seeds are covered.
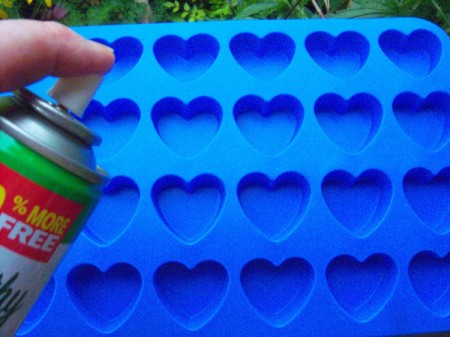
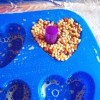
- Spray a silicon mold tray with oil. Place on a baking pan to catch stray seeds. Just neater.
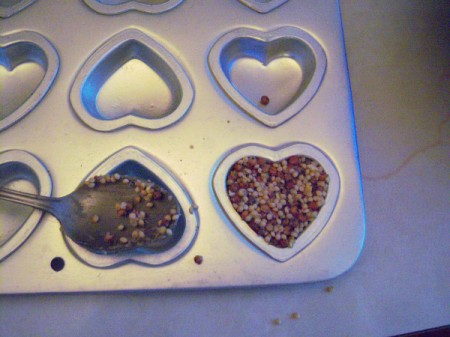
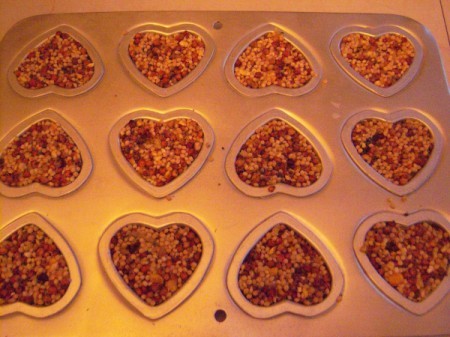
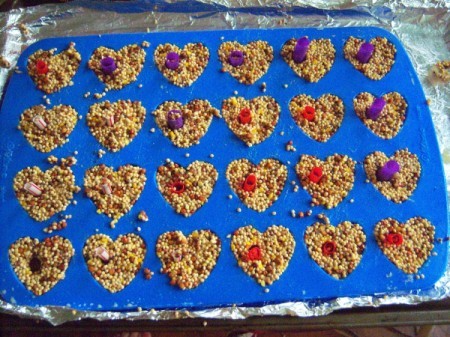
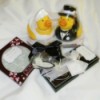
- (NOTE: I tried a more shallow metal mold tray and an individual cookie cutter first. See pic. The shallow, rigid tray didn't create a thick/strong enough final product for my liking nor was it easy to remove them. The individual cookie cutter was impractical since I needed 120 finished hearts for our reception. Remember, you need to leave the mix in the tray to get firm, so keep that in mind!
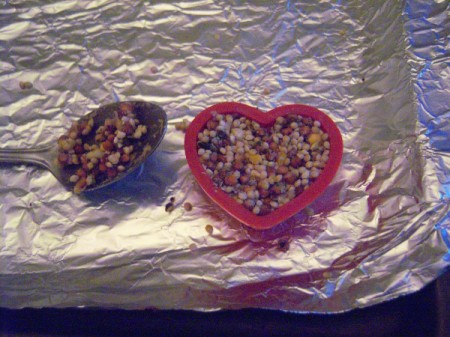
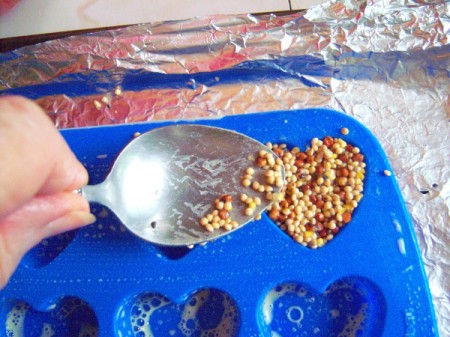
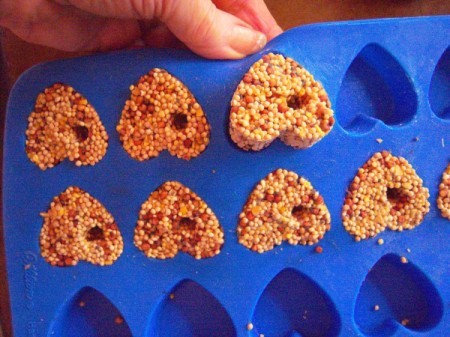
- With a tablespoon fill the molds, pressing down hard with the back of the spoon to get a good sharply defined heart shape in the mold.
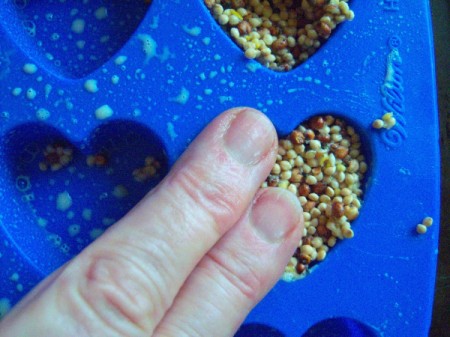
- HELPFUL HINT: I also used my oiled fingers to press them with my fingers.
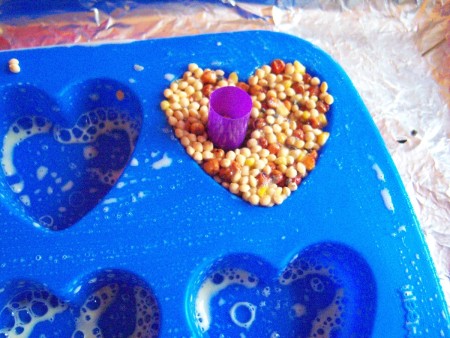
- Press one straw into each heart. The closer to the center makes it stronger for hanging later and less chance of it breaking when removing the straw!
- Put the whole tray in the freezer and leave it for a few hours or even overnight if you'd like.
- With the straws still intact, I gently pushed the frozen heart forms out from the back of the silicon molds. Then I carefully removed the straws while they were still frozen. It worked great!
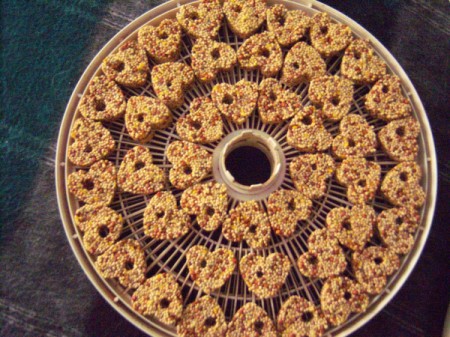
- I left some to air dry for two days and put some in my dehydrator to see if there was any big difference. Although it took a little longer for the air dry ones to feel as firm and light as the dehydrated ones, they both seemed to work equally well.
- Helpful Hint: You can always use your car as a dehydrator by leaving items on the back floor or even back window of your car in hot weather..just remember to remove them from the back window before driving for safety.
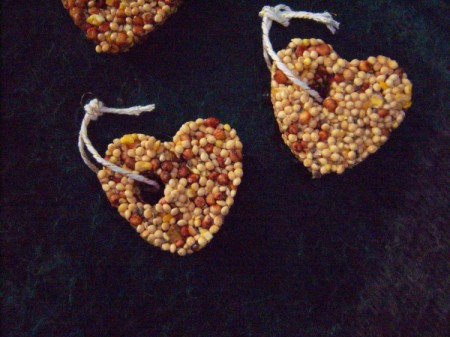
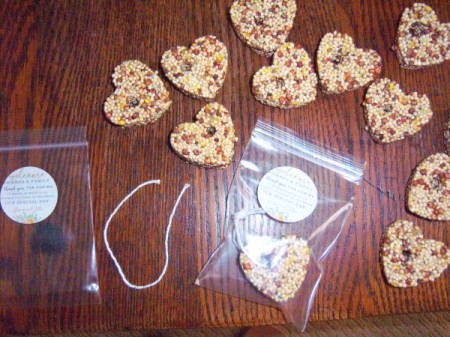
- I finished it off threading a pretty string and knotting it, then placing the heart into a little zip lock baggie found at my craft store. My daughter chose to add a personalized sticker message to each bag.
- I've also seen (online) folks add a tag to the string "Love is Tweet" (which I thought was also cute).
- We chose to bag them to contain any stray seeds at the tables. Totally optional.
Add your voice! Click below to comment. ThriftyFun is powered by your wisdom!
attosa
Diamond Post Medal for All Time! 1,246 Posts August 24, 20180 found this helpful
Great idea, Donna! Congrats to your daughter!
Donna
Gold Post Medal for All Time! 555 Posts August 24, 20180 found this helpful
Thanks so much!
Exciting times!
Add your voice! Click below to comment. ThriftyFun is powered by your wisdom!